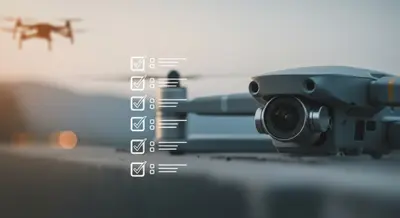
Level Up Your Drone Videos: Tips for That Sweet Cinematic Look!
Want your drone videos to look less like shaky phone footage and more like something… well, cinematic? It takes a bit more than just sending the drone up! Getting those smooth, professional-looking shots involves thinking about camera settings, planning your flights, moving the drone just right, and a little polish afterwards. Whether you’re showing off Lethbridge’s beauty, a cool project, or marketing your business, these tips can help make your drone videos seriously impressive.
We use these tricks all the time at Coalbanks Creative. Here’s some friendly advice to help you get those awesome shots!
Getting Started: The Nerdy Stuff That Makes a Big Difference
Okay, let’s get the technical bits out of the way first. These settings are key for that movie-like vibe:
1. Camera Settings: Your Cinematic Foundation
- Frames Per Second (FPS): Go for 24! Set your camera to shoot at 24fps. It’s the standard for movies and instantly makes things look more “filmic” and less like a soap opera. (Higher FPS is great for slow-mo, but 24 is the cinematic sweet spot).
- Shutter Speed: The Motion Blur Secret. Try to set your shutter speed to roughly double your frame rate. So, if you’re shooting at 24fps, aim for a shutter speed around 1/50th of a second. This gives you a nice, natural-looking motion blur when things move, making it smooth, not jerky. It’s a subtle thing that makes a huge difference!
- ISO: Keep it Low, Keep it Clean. Think of ISO as the camera’s sensitivity to light. Keep it as low as possible (like ISO 100) to get the cleanest, sharpest picture without ugly digital “noise” or graininess, especially on bright sunny days.
- ND Filters: Sunglasses for Your Drone! Ever try to get that smooth motion blur on a bright Lethbridge day, but the video ends up totally washed out? ND filters are your best friend! They’re like sunglasses for your drone’s camera lens. They cut down the light so you can use that slower shutter speed (like 1/50s) for motion blur without blowing out your highlights. Essential gear! They also let you use wider apertures if your drone has them, for that blurry background look.
2. Plan Your Flight, Fly Your Plan (Safely!)
-
Don’t Just Wing It! Plan Your Shots: Awesome drone shots usually don’t happen by accident. A little planning goes a long way:
- Scout it Out (Even Virtually): Use Google Earth or similar tools to check out your filming spot beforehand. Look for cool angles, potential problems (power lines!), and get a feel for the layout before you even get there.
- Map Your Moves: Think about the path your drone will take for each shot. Planning this helps you get smooth, controlled movements and makes the actual filming way more efficient.
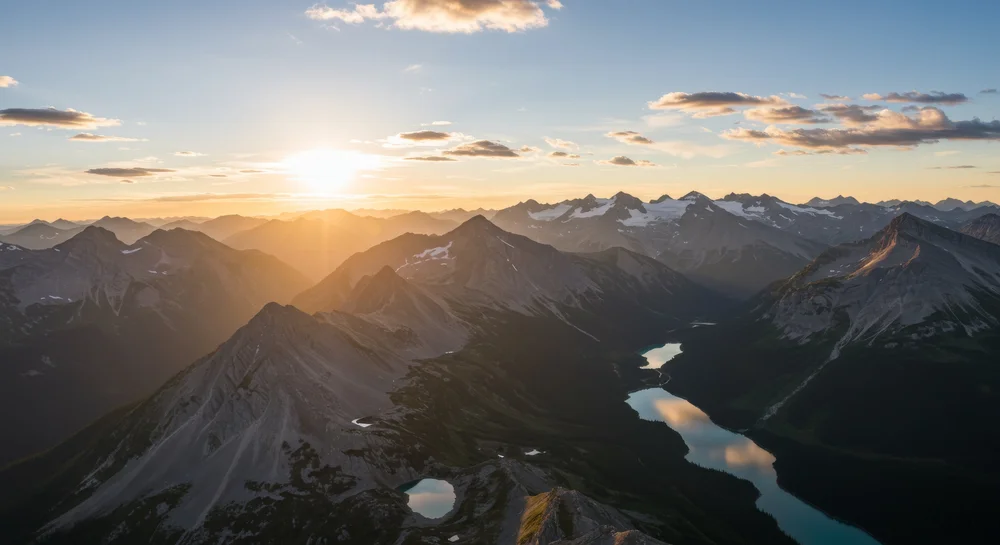
- Chase the Golden Hour: That soft, warm light just after sunrise or just before sunset? It’s called the “golden hour” for a reason – it makes everything look amazing and cinematic. Plan to shoot then if you can!
-
Fly Safe, Fly Smart: Getting cool shots is fun, but safety always comes first:
- Know the Rules & Get Certified: Make sure you understand Transport Canada’s drone rules. Getting certified shows you’re serious and helps you fly legally.
- Respect People & Places: Don’t be creepy! Be mindful of privacy, don’t fly over big crowds without permission, and stay out of no-fly zones (like near the airport).
- Watch the Weather (Especially the Wind!): Our Southern Alberta wind is no joke for drones! High winds make smooth shots almost impossible, even with good drones. If it’s too gusty, it’s better to wait for a calmer day. Safety and quality first!
3. Move it Like You Mean It: Smooth Drone Moves
Static drone shots can be boring! Smooth, deliberate movements are what make drone footage look pro. Practice these basics:
- The Push In / Pull Out: Fly smoothly towards or away from your subject. Great for showing scale or focusing attention.
- Follow the Leader (Tracking): Smoothly follow a moving car, person, or whatever! Keep the speed and distance consistent. Takes practice!
- Circle Around (Orbit/Parallax): Fly in a nice, smooth circle around your subject, keeping it in the frame. Adds depth and looks really polished, especially when done slowly.
- The Elevator (Pedestal): Move the drone straight up or down without tilting the camera. Perfect for showing off tall things or revealing a view from above.
- The Big Reveal: Start with your subject hidden, then move the drone to dramatically reveal it (like flying up over a hill or around a corner). Use this one sparingly for maximum “wow”!
- Threading the Needle (Fly-Throughs): Carefully fly through tight spots like archways or between trees. Looks super cool and immersive, but definitely needs practice (and maybe don’t try it near anything expensive at first!).
4. Polish it Up! (Post-Production Magic)
- Color Makes the Mood: Even great footage needs a little color love! Using editing software (like DaVinci Resolve, Premiere Pro, etc.), you can:
- Set the Vibe: Make it look warm and inviting, cool and dramatic, or bright and energetic just by tweaking the colors.
- Fix Things Up: Make sure the brightness and colors look consistent from shot to shot.
- Add Your Style: Give your video a unique look that matches your brand or the story you’re telling. (Pro tip: Look up “color grading” tutorials!)
Ready to Make Your Lethbridge Drone Videos Awesome?
Getting those smooth, cinematic drone shots takes a mix of knowing the tech stuff, planning creatively, flying smoothly, and polishing it up afterwards. But by focusing on these tips, you can seriously level up your drone videos and make content that really wows people here in Lethbridge.
Need a hand getting those truly epic shots? That’s what we do at Coalbanks Creative!
Give us a shout for a free chat! Let’s talk about your project and how our drone skills can help you get amazing cinematic results right here in Southern Alberta.